Frappe_Documentation
ERPNext is a free and open-source integrated Enterprise Resources
Planning software developed by Frappe technology. Python, JavaScript, MariaDB in back end.
Introduction of frappe
Frappe, pronounced fra-pay,is a full stack, batteries- included, web framework written in Python and JavaScript with MariaDB as the database. It is a first class citizen in frappe. It is used to generate database tables, design forms and configure a lot of features. Meta – data is stored in a model which is known as Doc Type in frappe. It comes with a features rich admin interface called the Workspace or desk. Frappe comes with User and Role management. A “User” is someone who can login to the system and perform authorized actions like creating, Updating, Deleting records. A “Role” is a mapping of Doc Types and actions allowed to perform on it.
  **Other features**==> Real time
                      Background Jobs
                              Email
                      Printing and PDF
Frappe framework is based on Python, so it uses the virtualenv to setup isolated environments for multiple Python versions. You can also use it to deploy sites with different Frappe versions.
The following diagram closely resembles the frappe-bench directory structure and its interface with different parts of the stack.

Introduction of ERPNext
ERPNext is a web application and it is developed in Frappe framework. It is a full-featured business management solution that helps SMEs to record all their business transactions in a single system.
ERPNext modules[stock and stock related things]==>Accounting, Asset management, Customer relationship management, Payroll, Purchasing,etc…
App Creation
Frappe Apps are Python packages which use the Frappe platform. They can live anywhere on the Python path and must have an entry in the apps.
To confirm, run bench find ==>
                      $ bench find .
                 /home/frappe/frappe-bench is a bench directory!
To create our app, run the new-app command==>
                      $ bench new-app sample_app
                  App Title (default: Sample App): app


     App Description: sample app
     App Publisher: ann
     App Email: ann@gmail.com
     App Icon (default 'octicon octicon-file-directory'):
     App Color (default 'grey'):
     App License (default 'MIT'):


    'sample_app' created at /home/amrita/frappe-bench/apps/sample_app
     Installing sample_app
     $ /home/amrita/frappe-bench/env/bin/python -m pip install --quiet
     --upgrade -e /home/amrita/frappe-bench/apps/sample_app
     $ bench build --app sample_app
     ✔ Application Assets Linked


     yarn run v1.22.19
     $ node rollup/build.js --app sample_app
     Development mode
     ✔ Built js/moment-bundle.min.js
     ✔ Built js/libs.min.js
     Done in 1.15s.
App directory structure
apps/sample_app
├── MANIFEST.in
├── README.md
├── sample_app
│ ├── init.py
│ ├── config
│ │ ├── init.py
│ │ ├── desktop.py
│ │ └── docs.py
│ ├── sample_app
│ │ └── init.py
│ ├── hooks.py
│ ├── modules.txt
│ ├── patches.txt
│ ├── public
│ │ ├── css
│ │ └── js
│ ├── templates
│ │ ├── init.py
│ │ └── includes
│ └── www
├── sample_app.egg-info
│ ├── PKG-INFO
│ ├── SOURCES.txt
│ ├── dependency_links.txt
│ ├── not-zip-safe
│ ├── requires.txt
│ └── top_level.txt
├── license.txt
├── requirements.txt
├── dev-requirements.txt
├── package.json
└── setup.py
Site Creation
Frappe is a multi-tenant platform and each tenant is called a site. A site has its own database. Sites exist in a directory called sites , assumed as the current working directory when running a bench command.
$ bench new-site sample_site.com


MySQL root password:

Installing frappe...
Updating DocTypes for frappe        : [========================================] 100%
Updating country info               : [========================================] 100%
Set Administrator password:
Re-enter Administrator password:
*** Scheduler is disabled ***
Site Directory Structure==>
sites/sample_site.com
├── indexes
│   └── web_routes
├── locks
├── logs
├── private
│   ├── backups
│   └── files
├── public
│   └── files
└── site_config.json
Install app on site==>
$ bench --site sample_site.com install-app sample_app
Installing sample...
$ bench --site sample_site.com list-apps
frappe
sample_app
Access site into browser==>
$ rm sites/currentsite.txt
bench --site sample_site.com add-to-hosts
[sudo] password for amrita:
127.0.0.1 sample_site.com
Set a site as the current site==>
bench use sample_site.com
bench start
Doc Type Creation
A DocType is the core building block of any application based on the Frappe Framework. It describes the Model and the View of your data. It contains what fields are stored for your data, and how they behave with respect to each other. It contains information about how your data is named. It also enables rich Object Relational Mapper (ORM) pattern which we will discuss later in this guide. When you create a DocType, a JSON object is created which in turn creates a database table.
A Doc Field defines a property (or a field) of a DocType. You can define the column name, label, datatype and more for DocFields
Example
The DocField stores meta-data about the field. Some of them are described below.
{
    "label": "Description",     // the value shown to the user (Form, Print, etc)
    "fieldname": "description", // the property name we refer in code, also the column name
    "fieldtype": "Text Editor", // the fieldtype which also decides how to store this value
    "reqd": 1                   // whether this field is mandatory
}
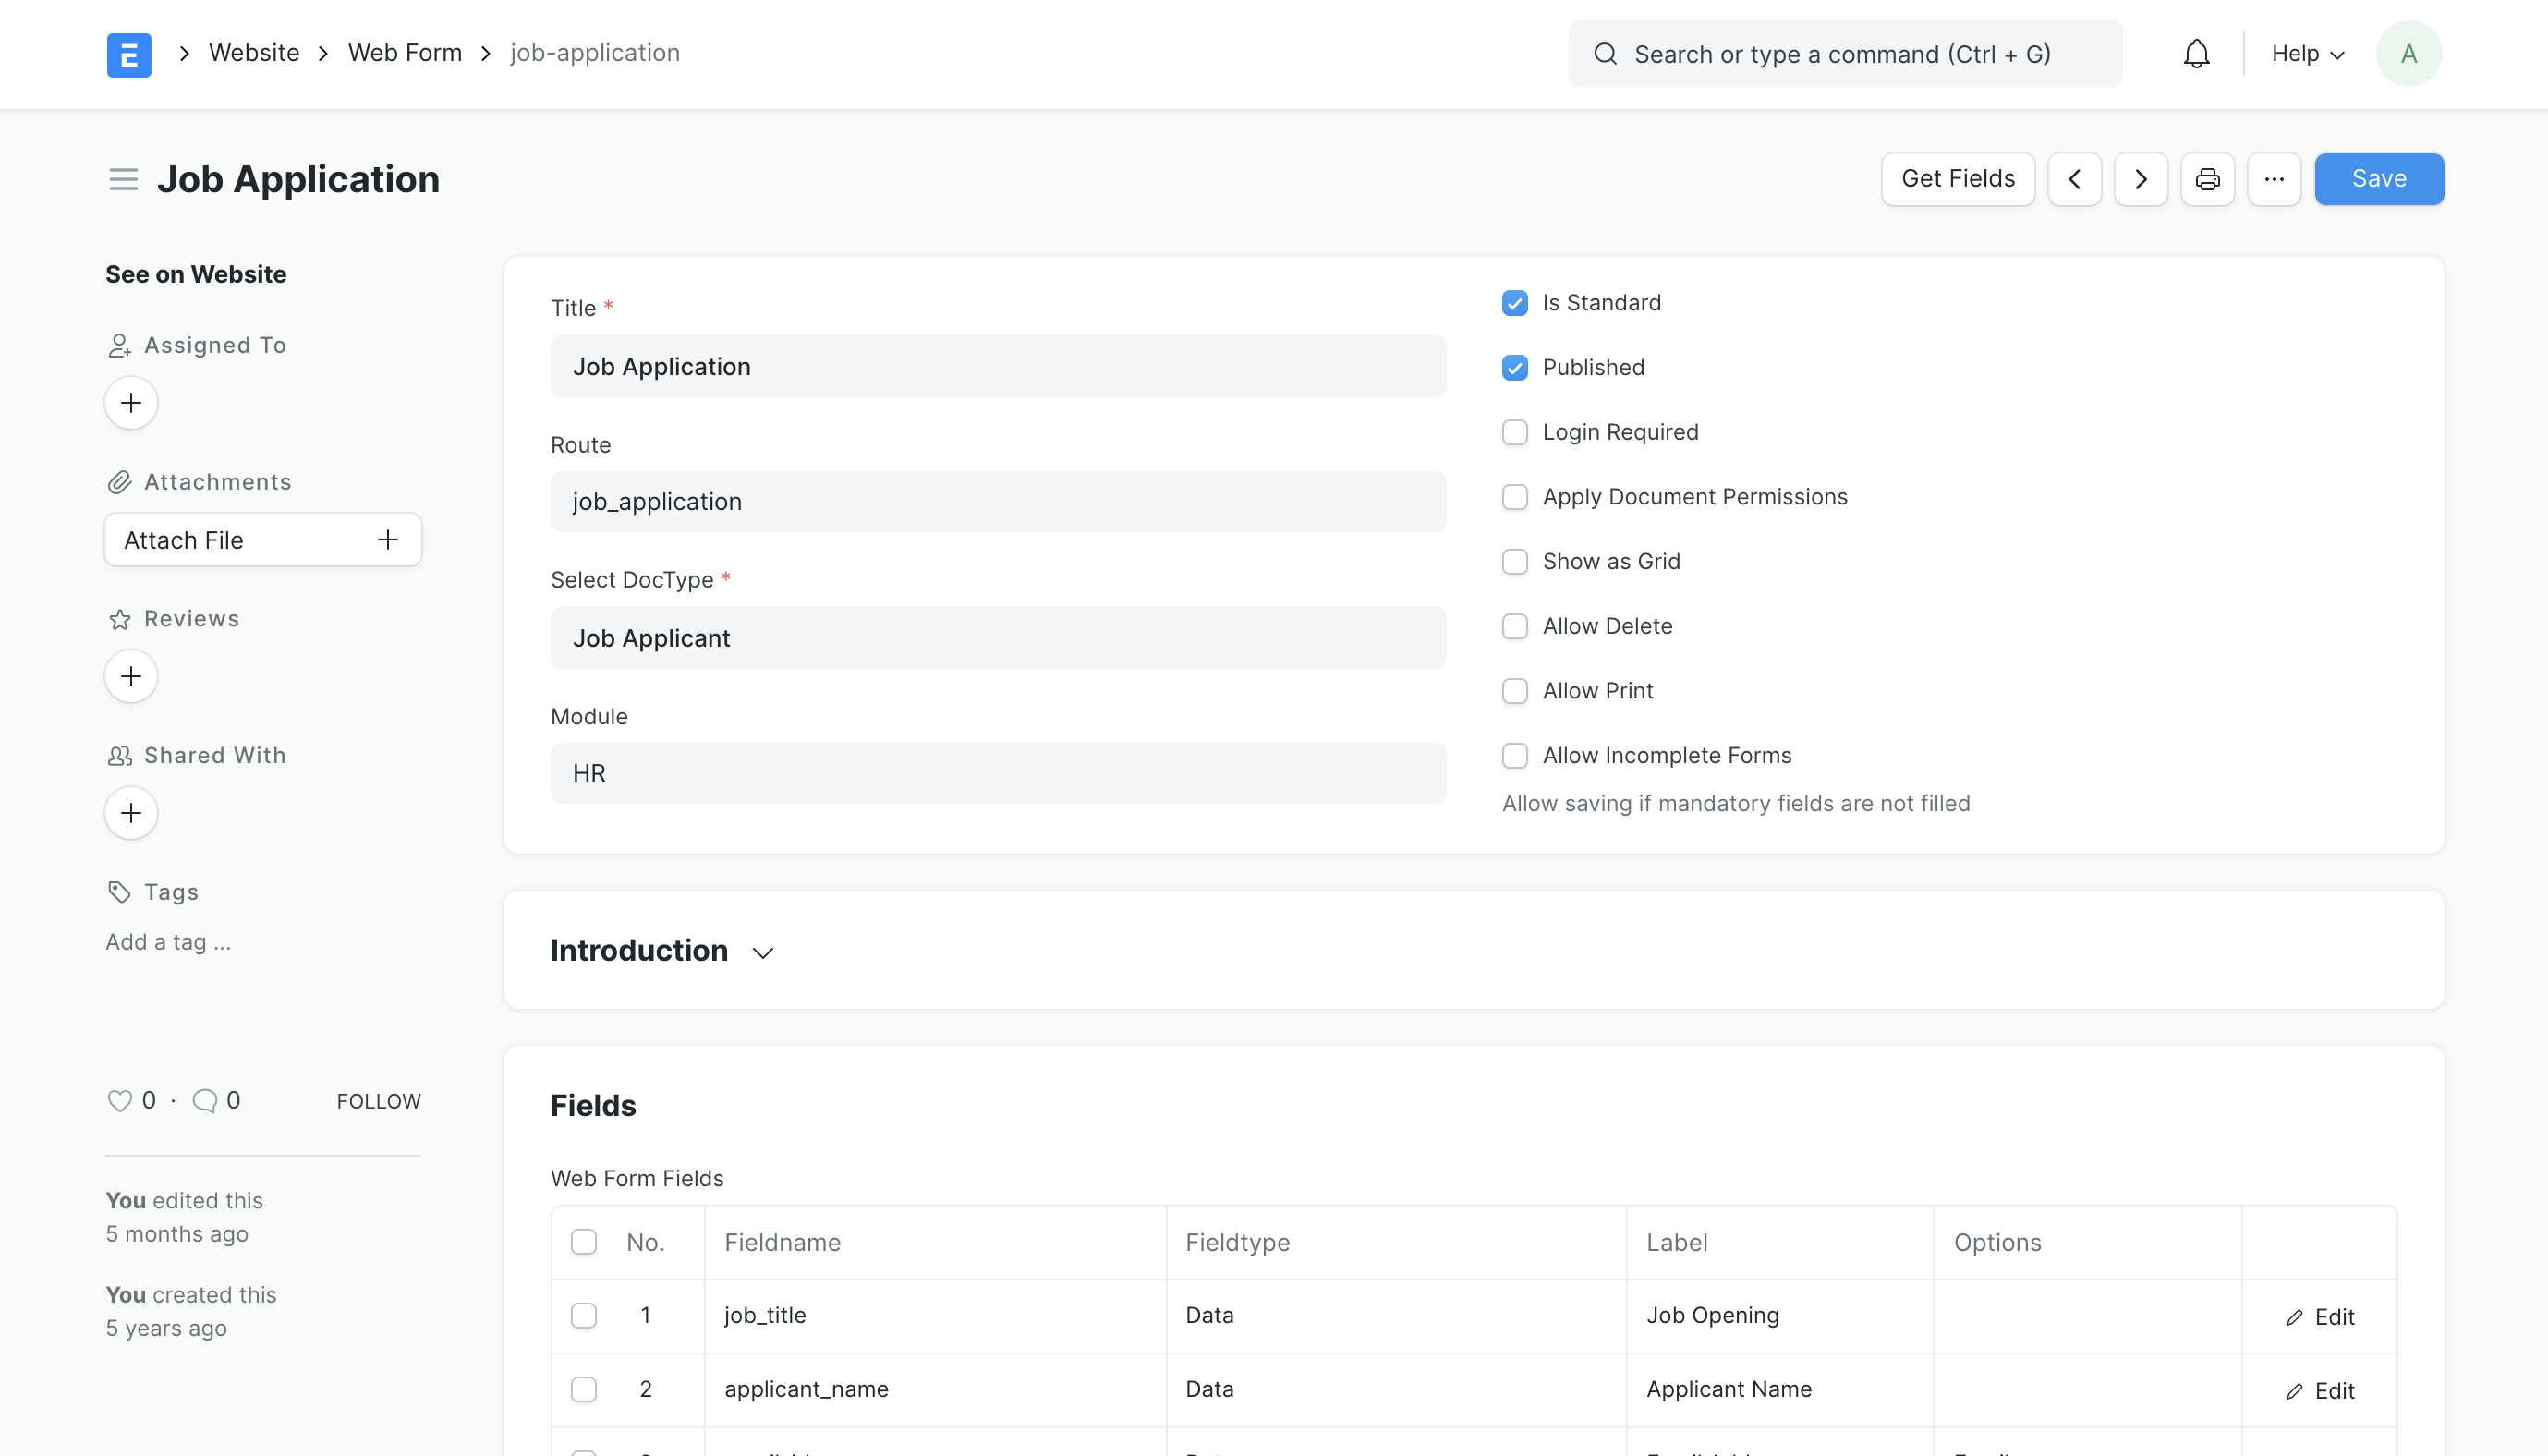
Web Form Creation
Frappe provides an easy way to generate forms for your website with very little configuration. These forms may be public (anyone can fill them up) or can be configured to require login.
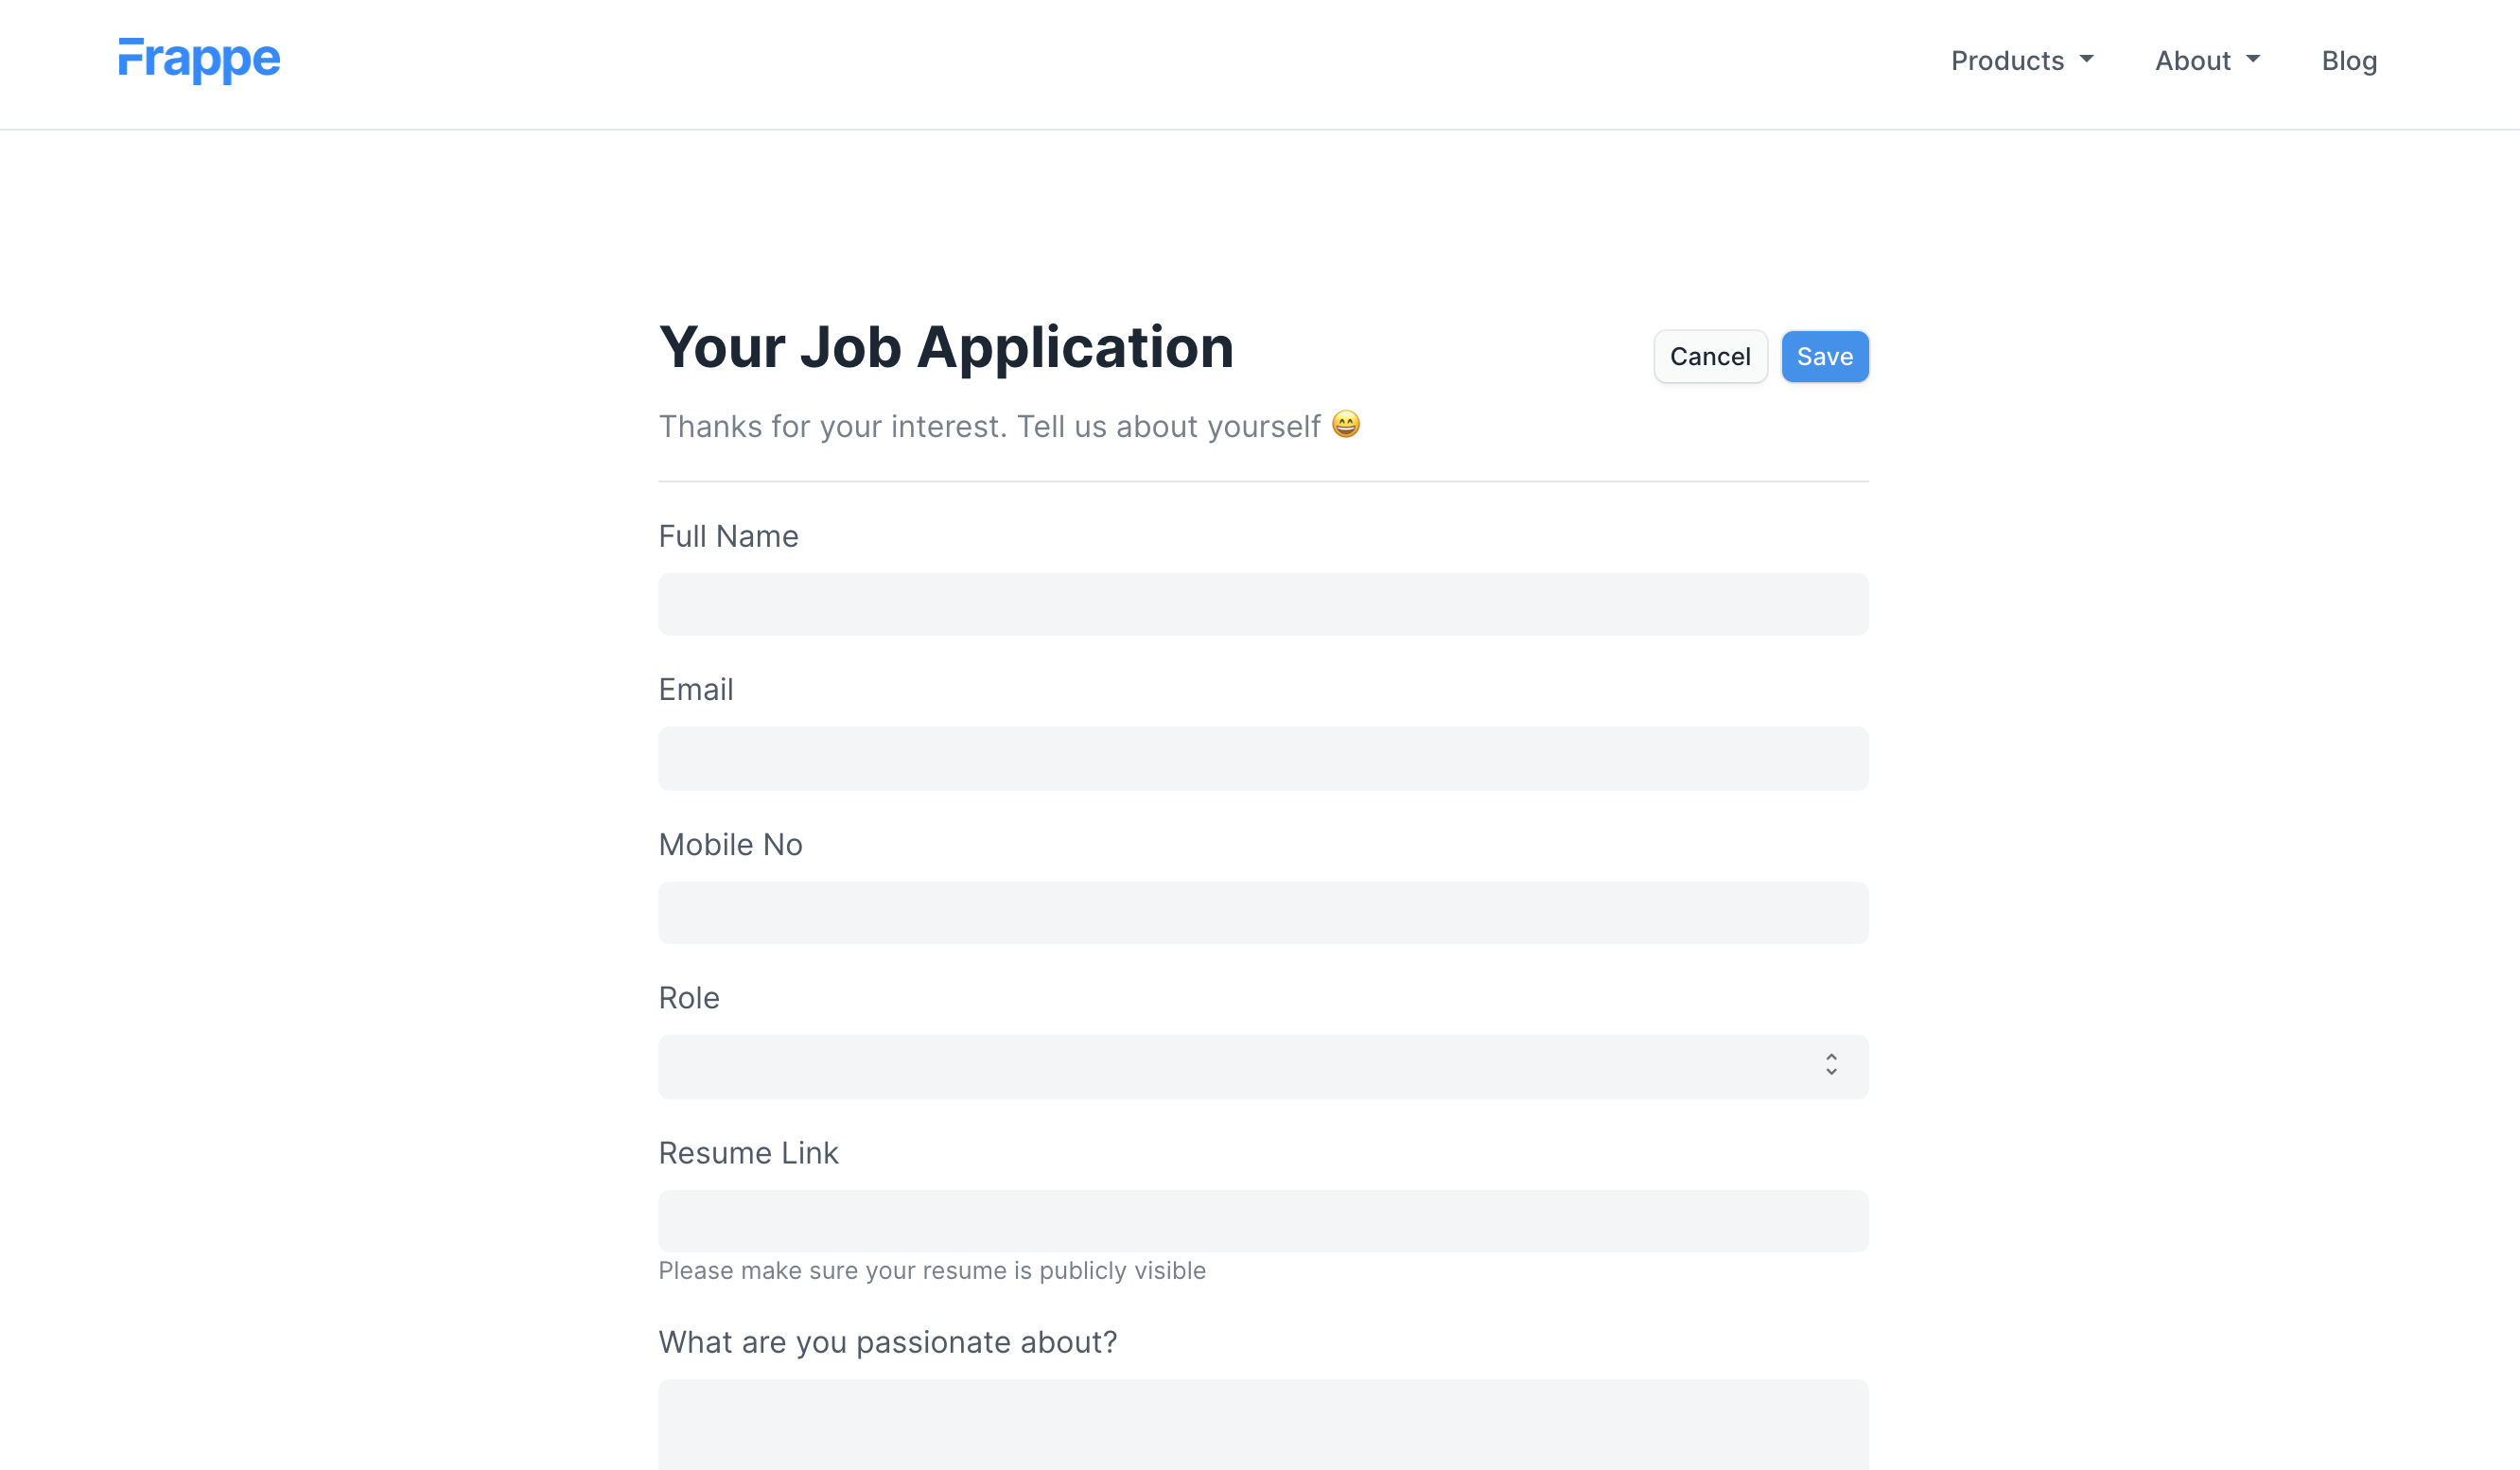
To create a Web Form, type "new web form" in awesomebar and hit enter.
1. Enter Title
2. Select DocType for which the record should be created.
3. Select fields for your web form.These fields are populated from the
   DocType.
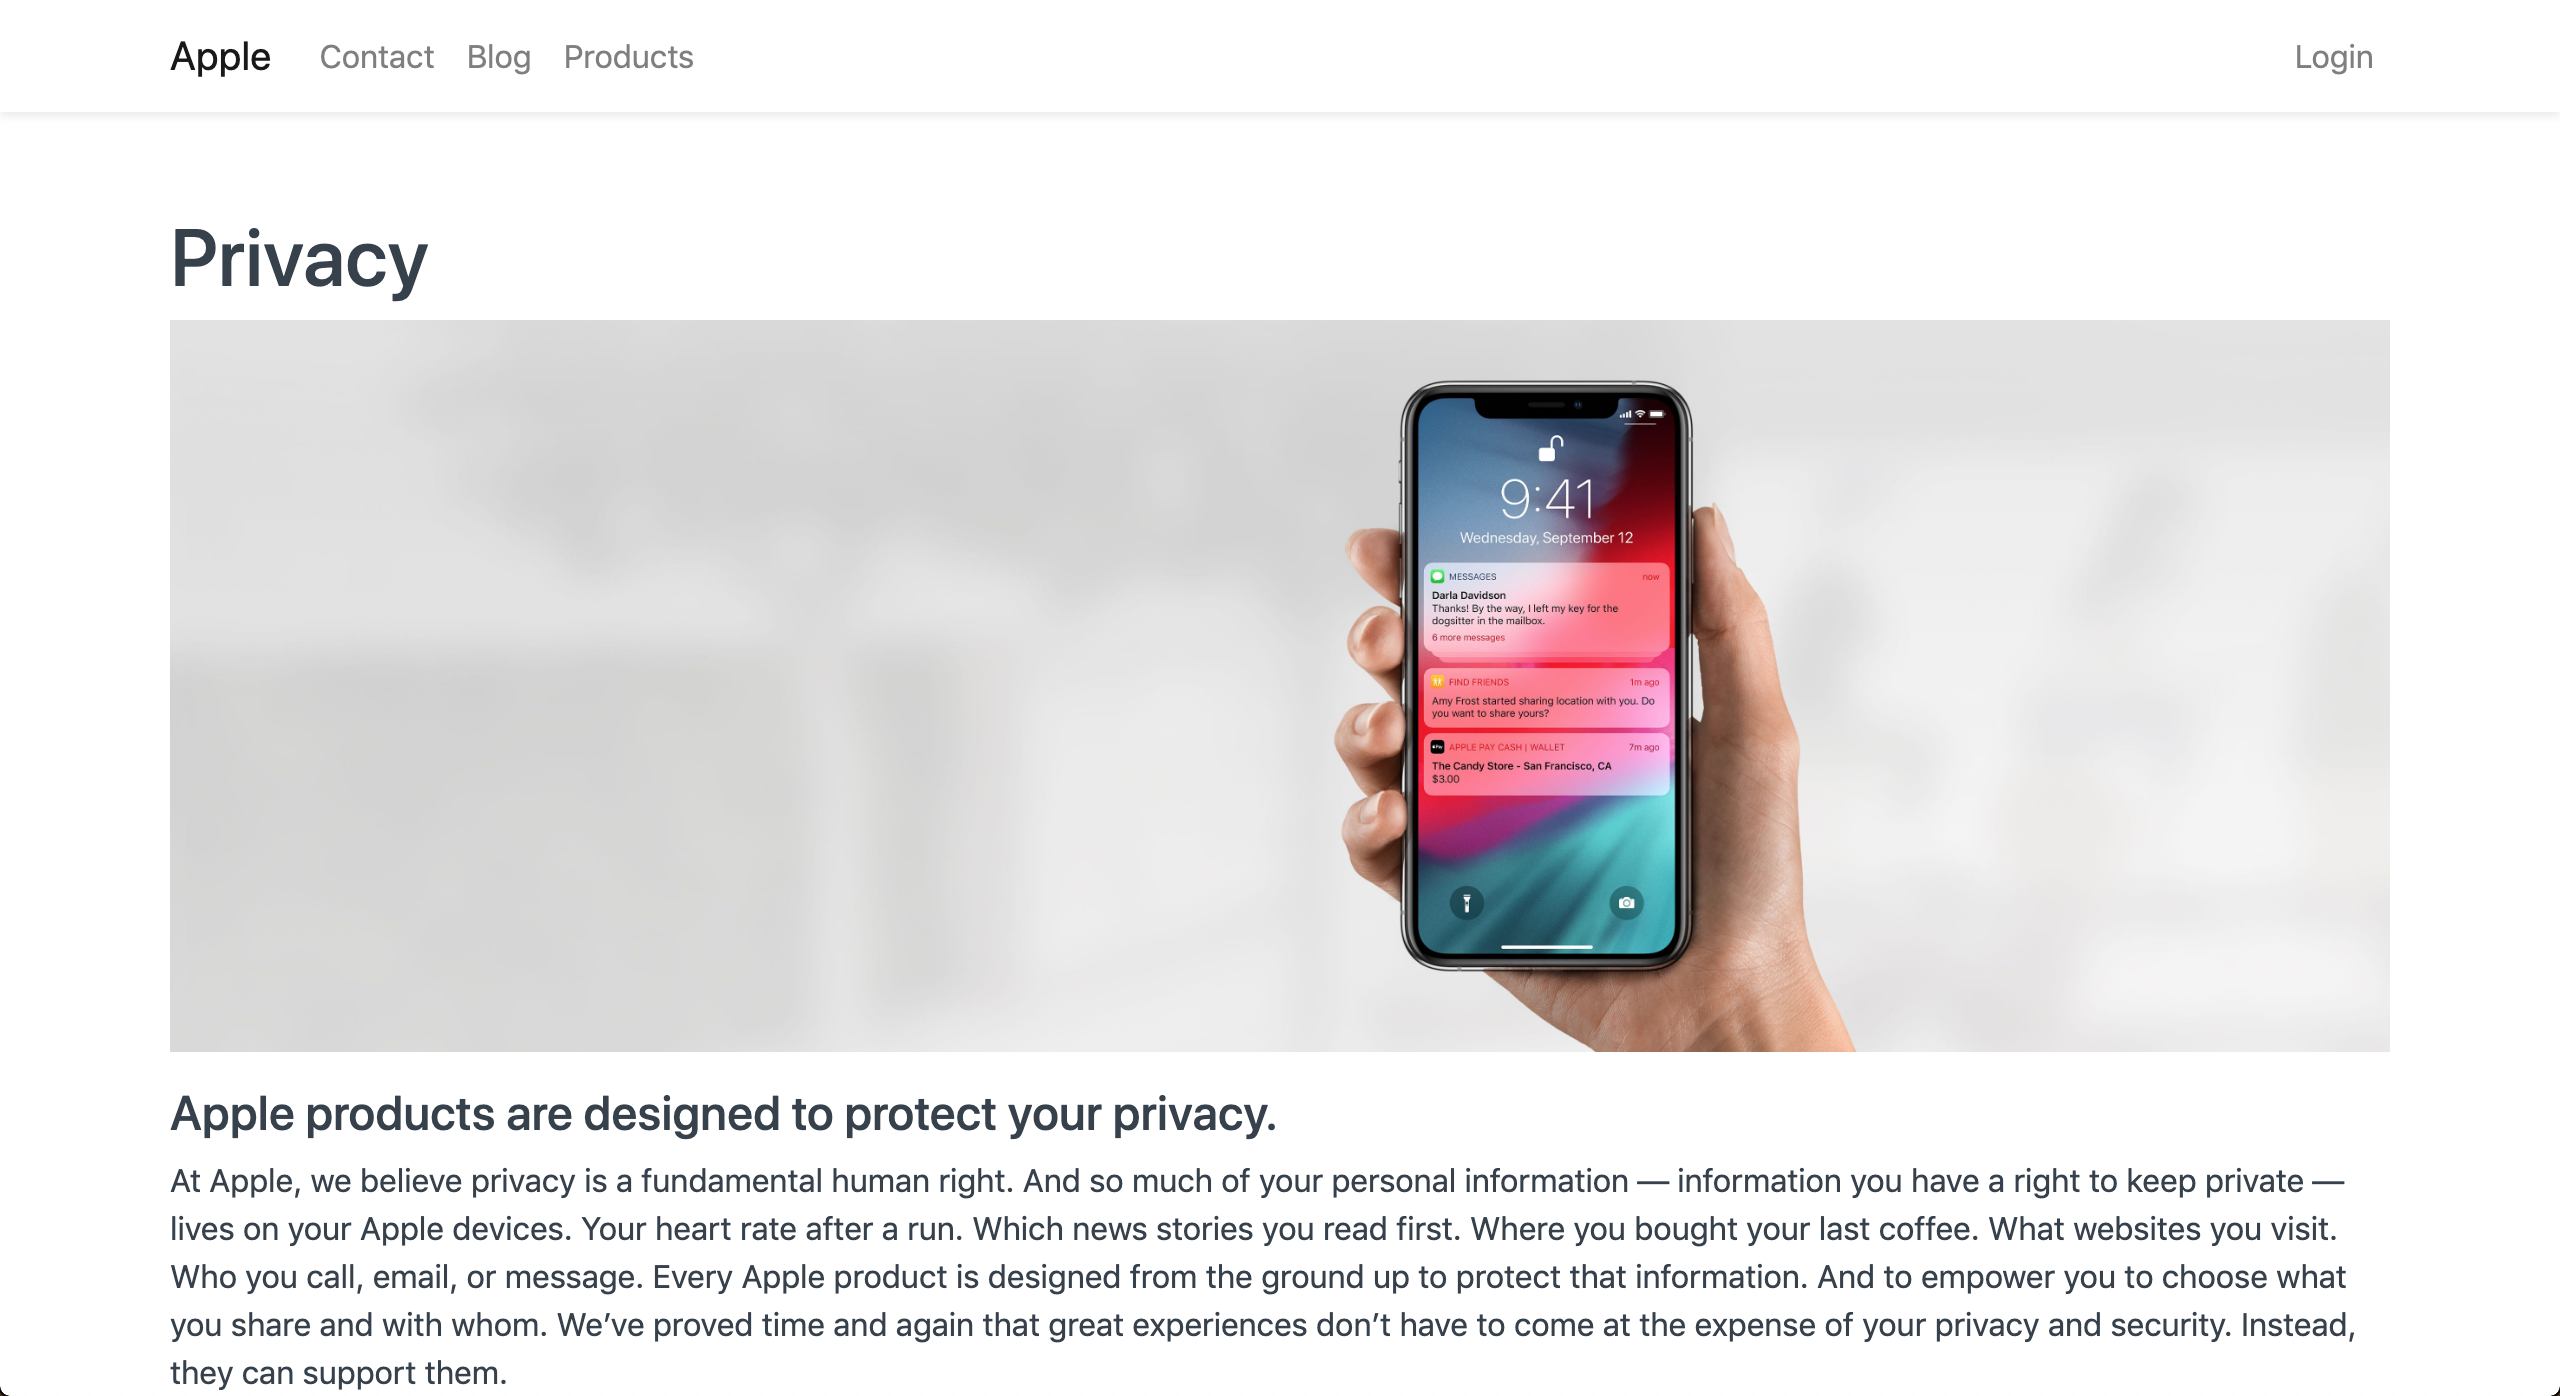
Web page Creation
Static Content like your Home Page, About Us, Contact Us, Terms pages can be created using the Web Page.
To access Web Page go to:
Home => Website => Web Site => Web Page
To create a Web Form:
1. Go to the Web Page list and click on New.
2. Enter a Title and add content in Main Section. The route will auto
   generated but you can change it.
3. Click on Save.
4. The web page will be published only when Published is ticked.

View your Web Page by clicking on See on Website in the side bar.